Search The Knowledge Base
Due Or Overdue Alerts With Zapier
Overview
This Zapier integration for due or overdue alerts enables you to receive Zapier triggers that can be used to automate actions such as updating a Google Sheet or calendar, sending email notifications, or performing any other action supported with other Zapier integrated apps.
The triggers can be sent a couple of days before or after an important date.
Setting up the Zap trigger
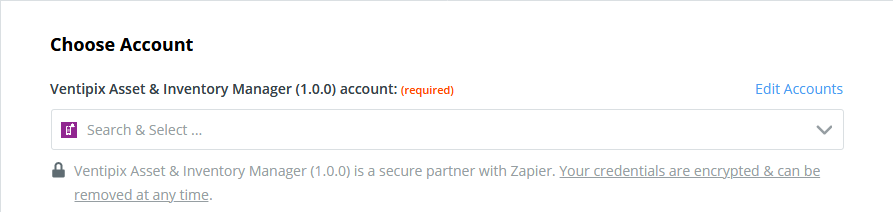
To set it up, in your Zap editor, select the “Due or Overdue Alert in Ventipix Asset & Inventory Manager”.

After that choose the account to authenticate with, then click on Continue.
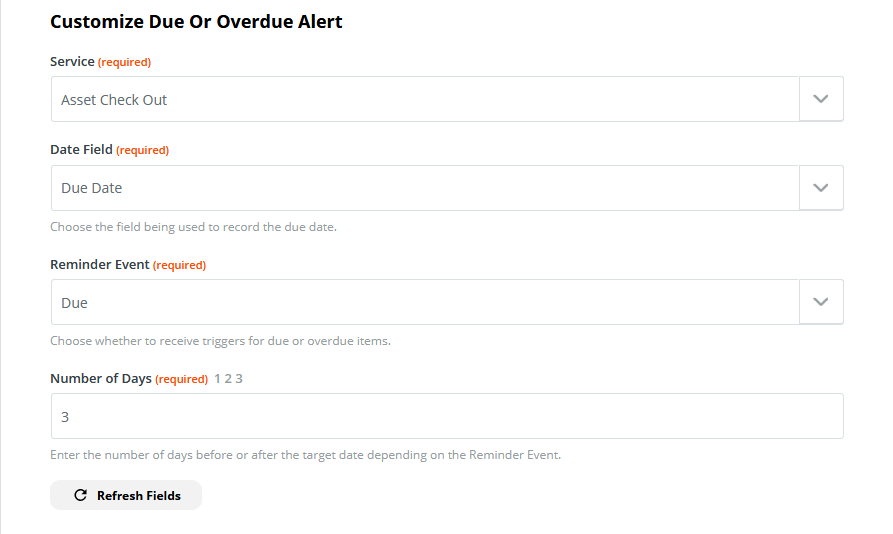
On the next step, choose the custom fields you’re using.
Under the Service field, choose either Check Out for checked out assets, or Purchase Orders for expected shipment.
Under the Date Field field, choose the custom field that’s used to capture the upcoming date.
Under the Reminder Event, choose whether you want the trigger to be executed before or after the target date.
Under the Number of Days field, for Due events, enter how many days in advance of the upcoming date should the trigger be executed. For Overdue events, enter the number of days after the target date.
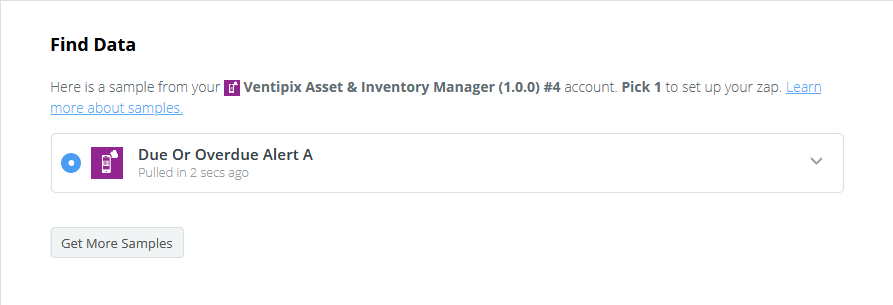
Continue to the Find Data step. On there click on the Test & Review button. Zapier will attempt to retrieve sample data from your account that matches the trigger conditions.
You may, therefore, need to set up sample data within your account, if nothing was found. The sample data must meet the condition for the trigger, i.e you would need to set up an asset, inventory, etc, with an upcoming date.
If Zapier finds data, you will be presented with samples to choose from.
Setting up a Zap action
At this point, you would have reached the end of the trigger setup. You now need to set up an Action i.e what should happen when the zap is triggered.
The action can be anything useful that you want. In this guide, we’ll set up an action that automatically creates a new event in a Google Calendar.
Click on the (+) button to add an action.

Search and choose Google Calendar. Thereafter, choose Create Detailed Event as the Event Action.
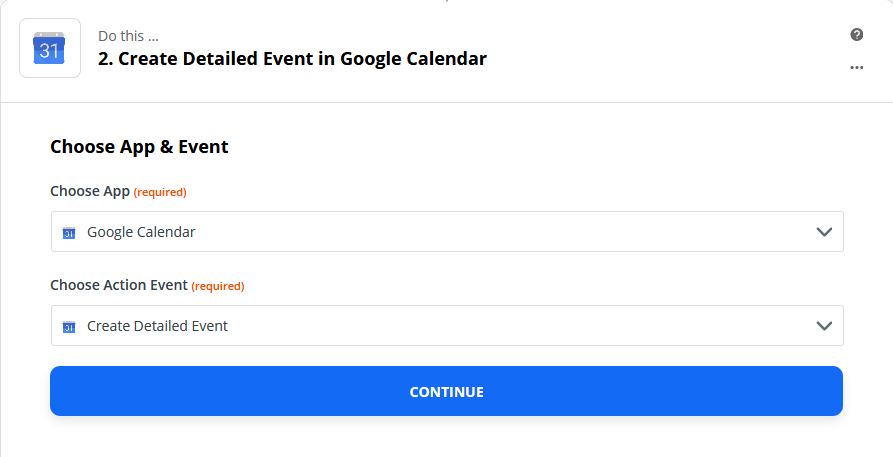
Click on Continue, then choose the Google account to authenticate with.

On the Customize Detailed Event step, choose and enter the relevant details.
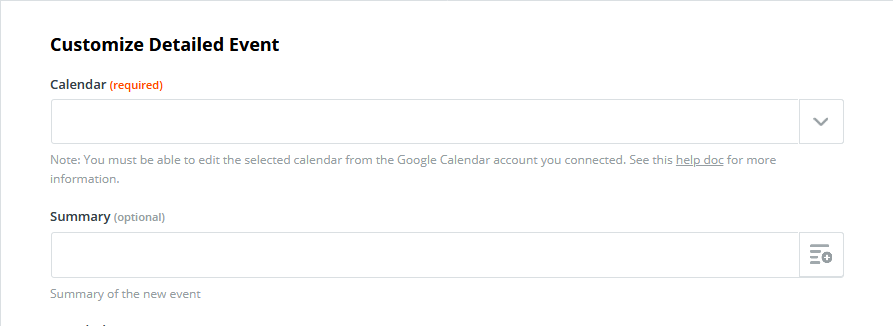
Map data from the trigger by clicking on the button at the end of the fields.

Once the customization is complete, continue to the next step to test the zap.
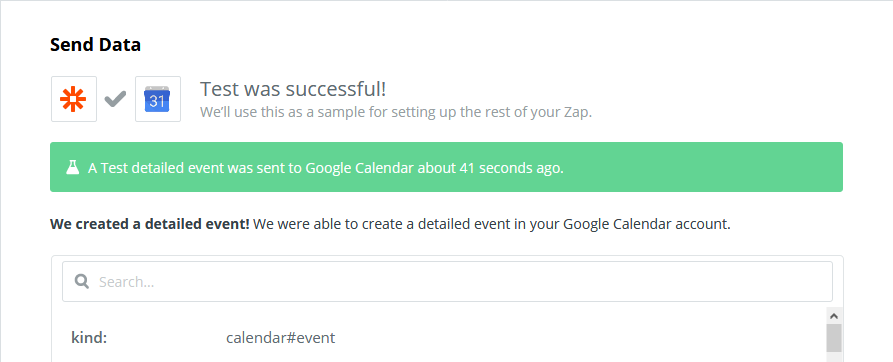
After the test is successful, you can turn the zaps on or create further actions that meet your needs.