Search The Knowledge Base
How to set up variants or attributes
Overview
This is a feature that enables you to capture unique attributes about an item that differentiates it from other similar items. For example, sizes, color, etc.
Once set up, when filling out the data capture forms, you will be presented with new fields for you to enter the relevant attributes.
Setting up variants or attributes
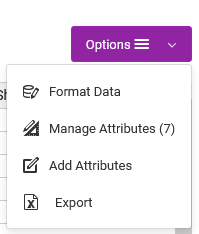
From the Data Capture page, go to Options > Add Attributes.
On the new page, fill out the form by entering a descriptive title. This title will be used to identify the set of attributes and their associated options.

Thereafter, enter the attributes, and their associated options, if applicable.

If the Options column blank is left blank, the attribute field will be presented as a text field. Conversely, if it’s filled in, with comma-separated values, each attribute will be presented as a dropdown field as shown below.
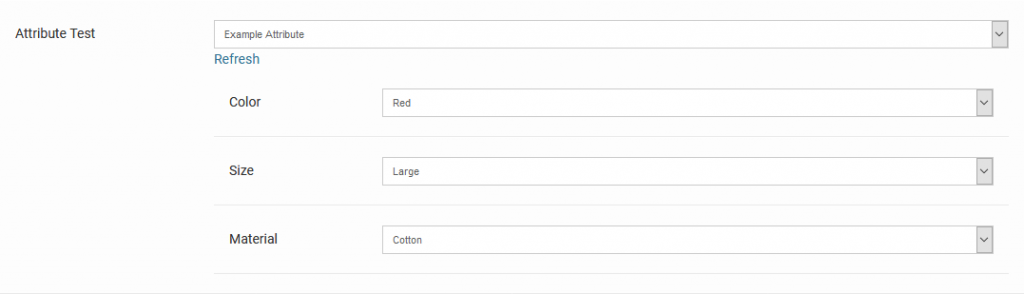
Once you’ve defined your attributes, go back to the Data Capture page then choose “Attributes” as the Answer Type.

Managing Attributes
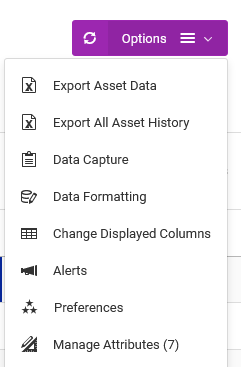
From the main tables go to Options > Manage Attributes.
On the new page, there are options to either add, edit, view, or rename attributes.
Adding categories
You can create new categories with each category having its own set of variants.
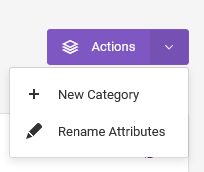
Click on the Actions > New Category button.
On the new page, fill out the form by entering a descriptive title, and setting up the variants and applicable options.
Renaming attribute names
To rename the attribute names for data that has already been captured, go to Actions > Rename Attributes.

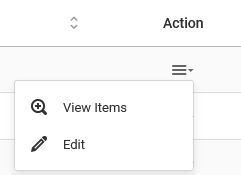
On the new page, find the attribute’s name on the table, then go to Action > Edit.
Enter the new attribute name after that.
Editing attribute options
To edit an attribute’s settings, go to Actions > Edit.

On the new page, enter your desired settings.
Viewing data in categories
To view the variants in a category, go to Actions > View Items.