Search The Knowledge Base
Working With Google Sheets
With the new Ventipix Asset & Inventory Manager spreadsheet add-on for Google Sheets, you can send scans from QR Codes, NFCs, or any other barcode. In addition, you can import and sync data directly from a Google Sheet spreadsheet.
The guide below outlines an alternative approach to working with Google Sheets.
Point-in-time or periodic syncing
You can choose to have the platform sync a copy of your data as it currently stands.
This only works whilst you’re logged in to your account. It also only syncs in one direction, i.e., only changes you make in your Ventipix account will be synced.
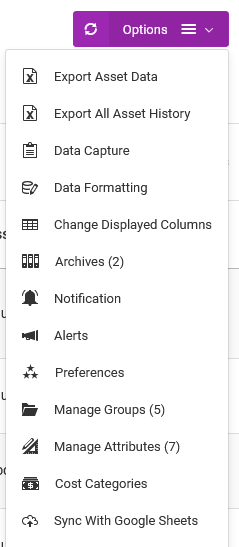
From the tables, go to Options > Sync With Google Sheets.
You will then be shown this prompt.
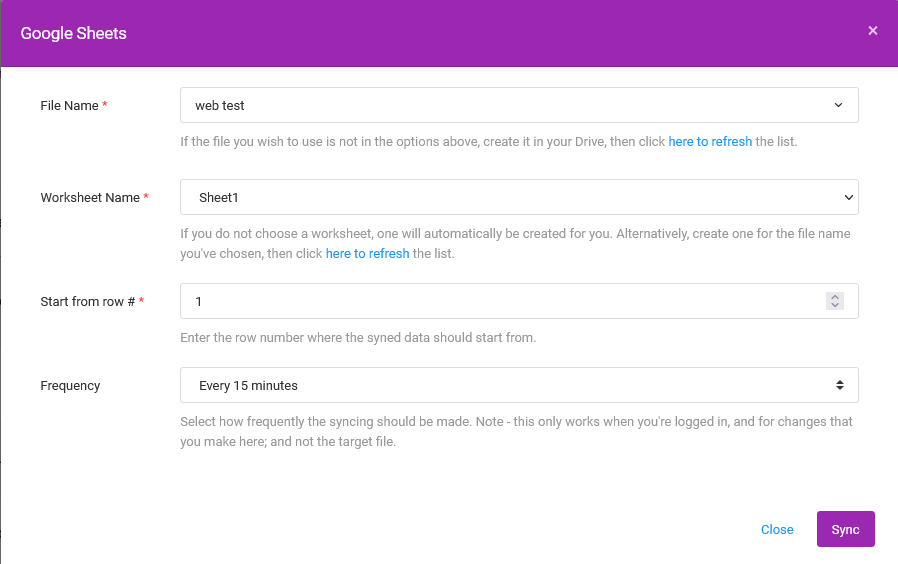
Fill out the form accordingly, then click on the Sync button.
The periodic syncing only works:
- If you don’t close the browser tab where you launched the syncing session;
- When your data changes, i.e, after the first syncing, if your data does not change, e.g, you don’t edit anything or add new records, nothing will be synced.
- The spreadsheet’s file permission does not change.
Continuous or automated Syncing
This type of syncing works whether you are logged in to your account or not.
Any data that you create or edit in your Ventipix account is automatically synced to the nominated spreadsheet file.
Note – the nominated file should not be edited manually as the platform will not be aware of the changes you make and may overwrite your data. The syncing is only in one direction.
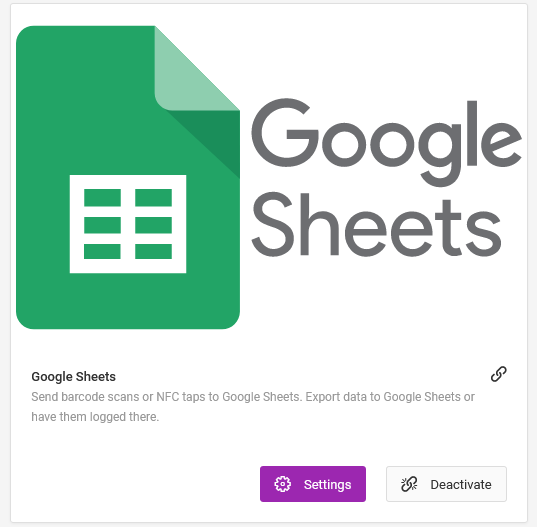
From the Apps page, click on the Settings button.
Fill out the form.
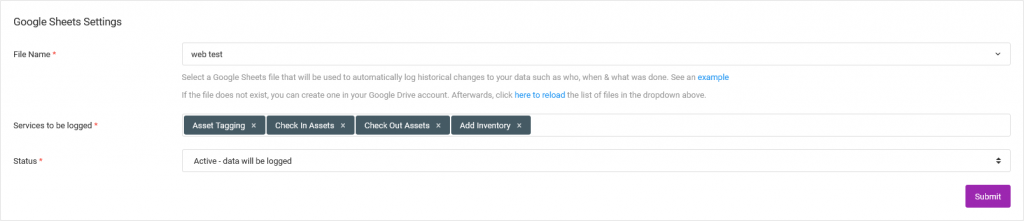
- File Name – Choose the file that we should sync to.
- Services to be logged – choose the type of services you want to be synced. Each chosen service will be created as a worksheet, on the chosen file, and whenever you create data on the platform, the same data will be synced.
- Status – indicate whether you want the syncing to be active or not.
Sending barcode scans or NFC tag taps directly to Google Sheets
When using this feature, no data gets saved to your account. Data gets saved directly to the synced spreadsheet and can include information already present in your account.
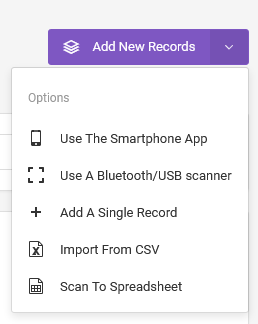
On the pages where this feature is available, go to Add New Records > Scan To Spreadsheet.
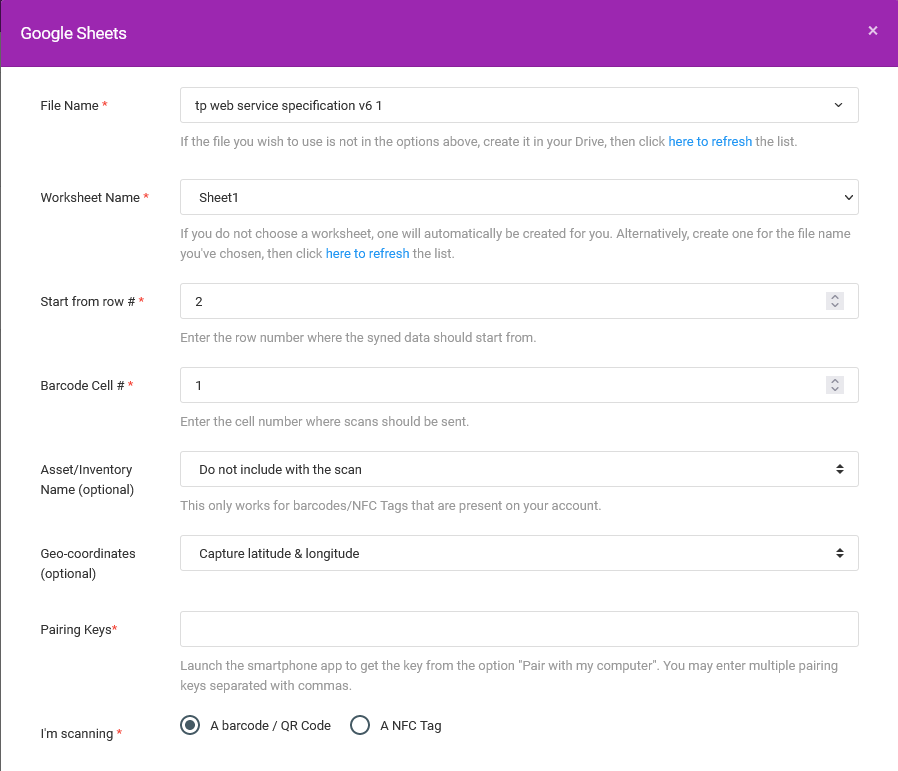
On the new page, choose Google Sheets from the dropdown options.

On the prompt that appears, fill out the form with the relevant details.
Scroll down that pop-up to continue filling out the required details.
Refer to the notes beneath the input fields.
Once you click on the Start Scanning button, the paired device will be ready to scan or tap NFC tags.