Search The Knowledge Base
Working With Shopify
Ventipix Asset & Inventory Manager platform enables you to manage inventory in your Shopify account.
You can create, update, delete, and make inventory adjustments. Data will be synced between both platforms depending on your preferences.
To get started, you should first connect your account to Shopify then configure your syncing settings.
Configuring Shopify Settings
Go to the Shopify Settings page and fill out the form displayed with your desired settings.
Location settings
Choose the active locations that will require inventory tracking.

Note :
- The chosen locations will automatically be used as the Location options in your Inventory data capture settings.
- When importing or creating inventory, the platform will create a separate record for each item being created or imported, and for each location.
- Three custom fields named Shopify ID, Shopify Variant ID, and Shopify Item ID, will be created in your Inventory data capture settings. These custom fields are used internally by the app and should not be deleted as long as syncing with Shopify is needed.
- Only these custom fields can be synced: Unit Price, Product Name, Product Description, SKU, Reorder Point, Location, and Quantity.
Inventory adjustment settings
Choose which inventory adjustments should be synced.

Inventory attribute changes settings
Choose the desired syncing options when inventories are created, updated, or deleted.

Importing Shopify inventory data
From the Manage Inventory page, click on the Add New Records button, then choose Import From Shopify in the menu that will be displayed.
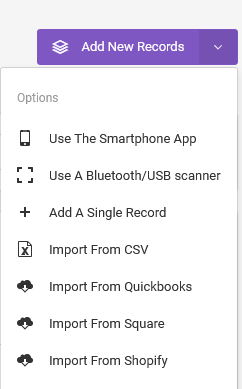
Once you’ve done that, and followed further prompts, if displayed, all your inventory will be shown on the Manage Inventory table.
Setting up Shopify Inventory Variants
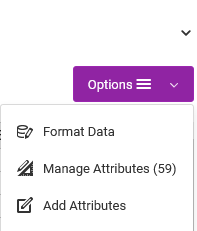
From the Data Capture page, go to Options > Add Attributes.
On the new page, fill out the form by entering a descriptive title. This title will be used to identify the set of attributes and their associated options.

Enter your attributes, in the spreadsheet form. Shopify allows a maximum of three.

Once you’ve defined your attributes, go back to the Data Capture page then choose “Attributes” as the Answer Type.

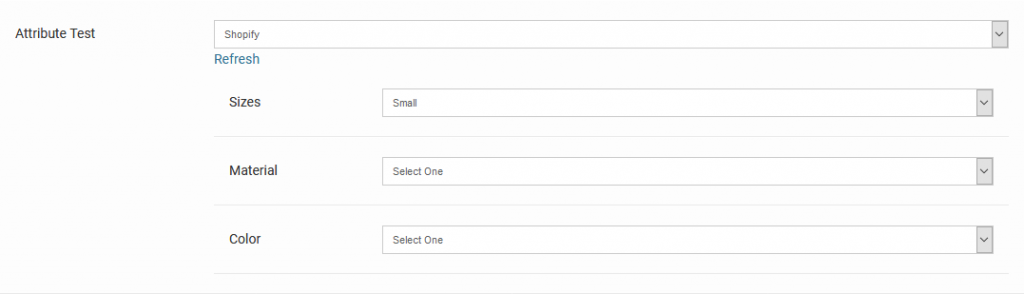
Afterward, when filling out the forms to add inventory data to your account, you will be presented with a button named “Add Attributes“.

Click on it, then choose the attribute that was set up. The applicable form fields will then be displayed.
When importing data, for an inventory that has multiple variants, enter the same “Product Name”, whenever the form is being saved, and use the variant fields to distinguish them.