Search The Knowledge Base
How to set up CSV Search
Overview
This data capture setting can be used when you want an external record to be searched for a specific value, then the matching record fetched.
The data from the matched record can then be used to auto-populate form input fields on the web/smartphone app. For example, you may want to scan a barcode or NFC tag, of an asset or inventory, then fetch its price.
To achieve this, prepare your data in a CSV file, that can be hosted in your Asset &Inventory Manager account, or your own hosting environment.
Use case example
When checking out an asset, you would like to scan employees’ ID card then fetch their name automatically.
Note – a new related feature for scanning badges is here under Workplace Passes.
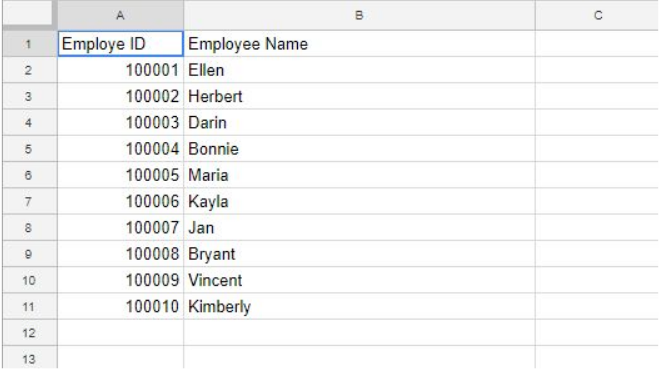
Example CSV Data
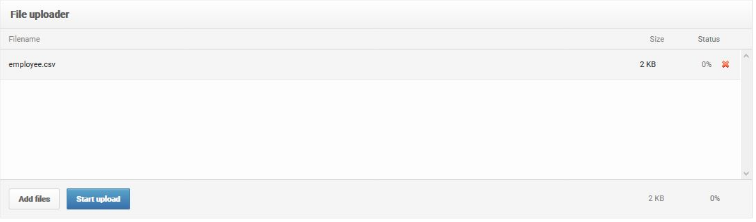
In your account, upload the CSV file.
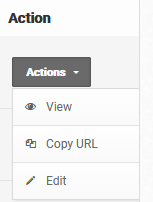
From the uploaded documents table, click on the Actions menu, then copy the URL.
In your data capture settings, create the fields for the Employee ID, and Employee Name.
The employee ID is what the app will search for in the CSV file.
The title “Employee ID” should exist in the CSV file as shown in the CSV example data above.
The employee name is what the app should fetch once it finds a matching employee ID data. The title “Employee ID” should also exist in the CSV file as shown in the CSV example data above.
As the Employee ID is what we need to search for, choose the Answer Type, CSV Search, then enter the URL to the CSV file that was copied earlier.
Employee Name is what we want to be auto-filled once a matching record has been found.

Once the data capture settings have been saved, then navigate to the appropriate form, you will see fields like the ones below.
When the Employee ID value has been entered either by scanning a barcode/NFC tag, or by typing then clicking on the search button, the Employee Name field will be auto-filled automatically.
