Search The Knowledge Base
Due or Overdue notifications with Microsoft Power Automate
Overview
This integration (flow) will enable you to create automated email notifications using Microsoft Power Automate (Microsoft Flow), whenever checked-out assets are either due or overdue.
Prerequisites
In order to set this flow up, you will need:
- the source of the checked-out assets data e.g Excel Online or Google Sheets. You can simply export your checked-out asset data from your account then import them to the relevant platforms.
- asset custom fields that capture the due date and the custodian’s email address.
- a Microsoft Power Automate account
Preparations
Exporting the checked-out asset data
From your account, go to Manage Assets > Check out.
On the table, go to Options > Export Data.

Setting up required custom fields
In your Inventory Data Capture settings, set up two fields; one for recording the due date e.g Due Date, and the other for recording the custodian’s email address, e.g Custodian’s Email.

When checking out assets, those two fields should be populated accordingly, for each asset record.
Importing the asset data
On Excel Online
If you are using Excel Online, upload the exported CSV file to your One Drive, then open it.
Once opened, insert a table by selecting all the records then go to Insert > Table.
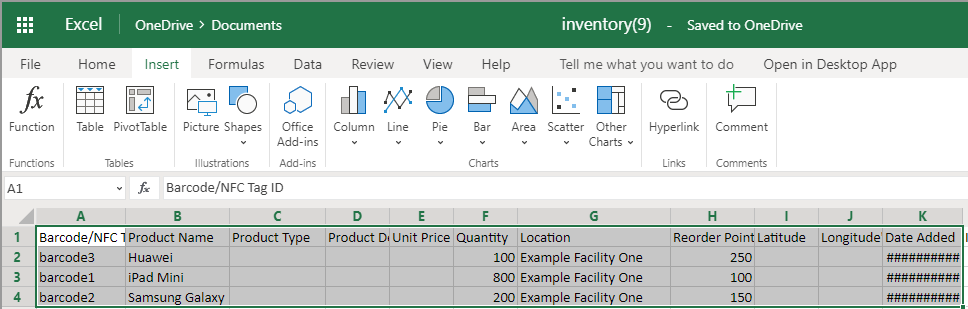
In the prompt that appears, ensure “My tables has headers” checkbox is selected.

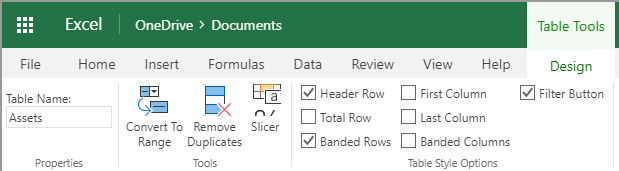
Under the Table Tools menu, click on Design, then change the Table Name to something more recognizable, as it will be need on further steps.
On Google Sheets
If you are using Google Sheets, upload the exported CSV file to your Google Drive.
Setting up the automation
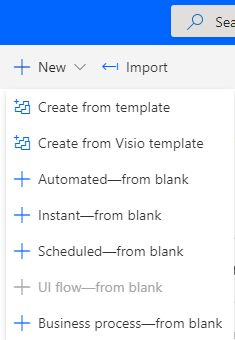
In your Power Automate account, go to My Flows.
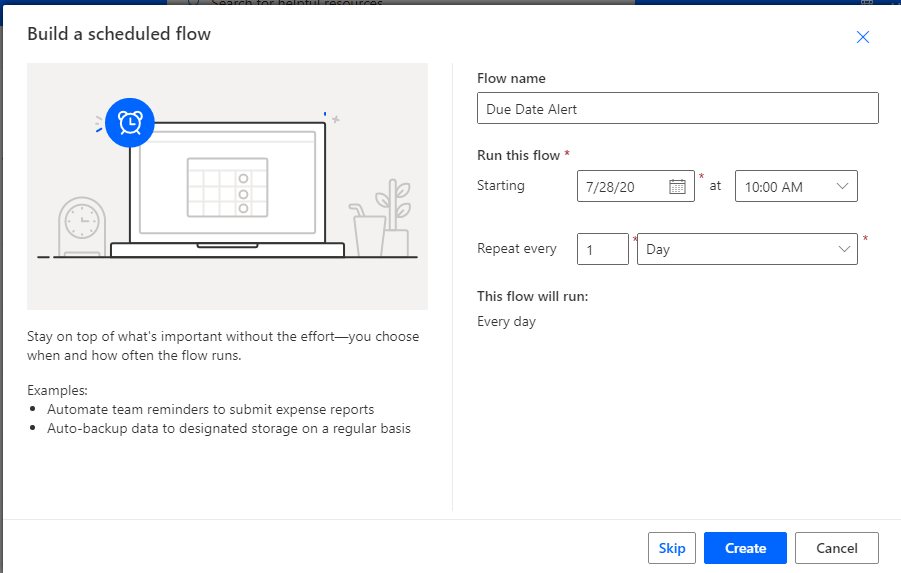
On the new page, click on New, then choose Scheduled – from blank.
In the prompt that will appear, enter a title for the flow, e.g “Asset Due Date Alert”.
Then, specify how often you would like to receive notifications,e.g once per day.
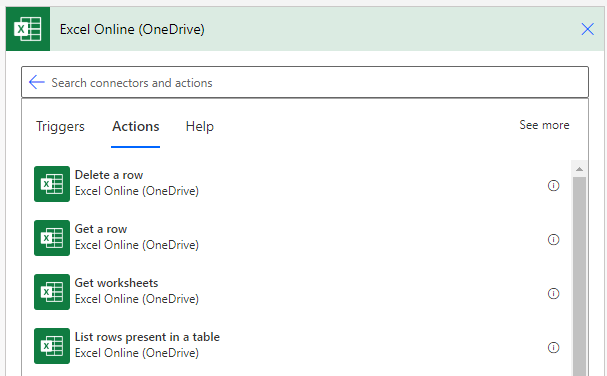
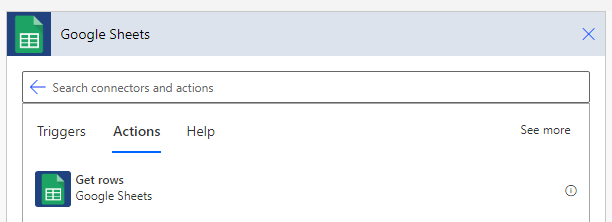
On the new page, click on the New Step button, then depending on your choice, search, and select Excel or Google Sheets connector.
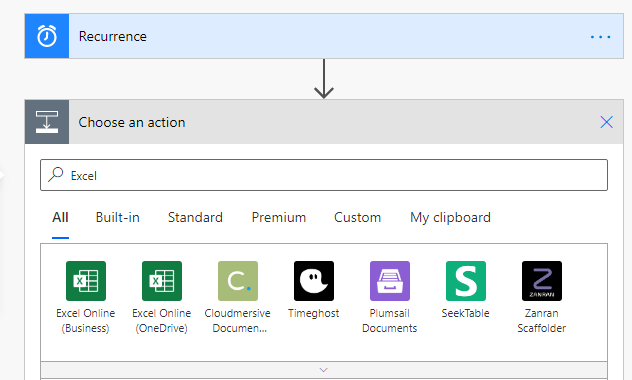
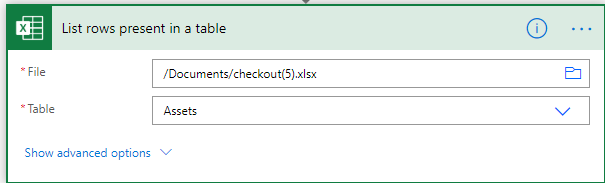
Under Excel Actions, choose “List rows present in a table”.
If using Google Sheets, you would choose “Get rows”, then follow the prompts to choose the location of the file, and sheet.
With Excel, you would then be presented with a prompt to choose the location of the file, and the name of the table.
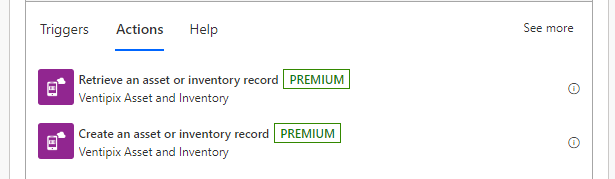
Once that is done, click on the New Step button, then search for “Ventipix Asset & Inventory” connector.

Under its Actions menu, choose “Retrieve an asset or inventory record”.
In the new prompt, under “Select a service“, choose “Asset Checkout”.
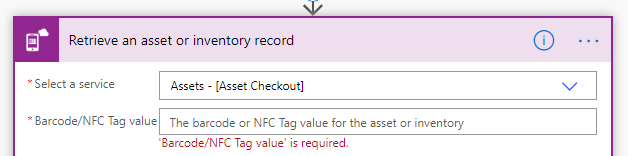
In the Barcode/NFC Tag value field, choose Dynamic content then select “Barcode/NFC Tag Id” field from the spreadsheet’s title names.
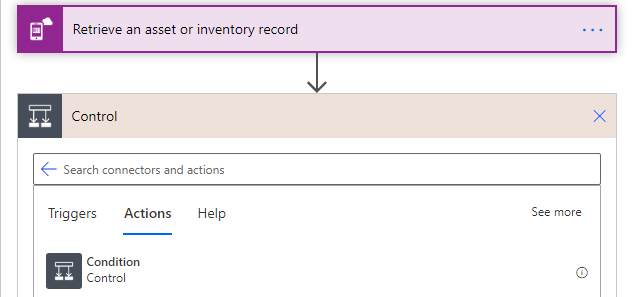
After selecting the “Barcode/NFC Tag ID” dynamic content, you will be presented with an “Apply to each” prompt.

Simply click on Add an action button.
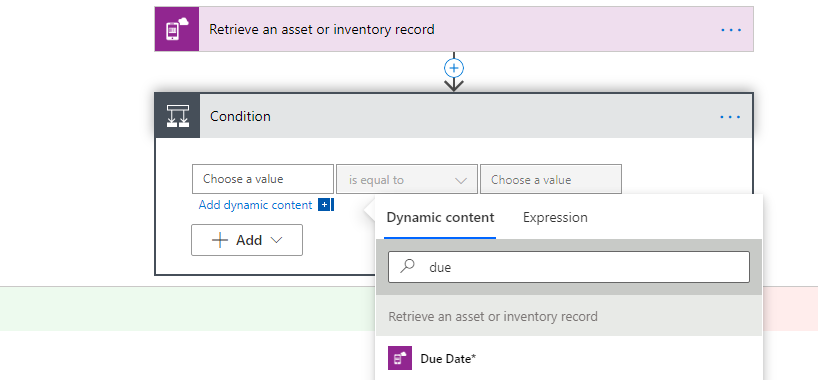
In the new prompt, search for “Control” connector, then choose “Condition”.
Under the Condition settings, on the left-hand side, search and choose the custom field that was set up earlier, i.e the Due Date.
Under the same Condition settings, on the right-hand side, switch from Dynamic content to Expression.
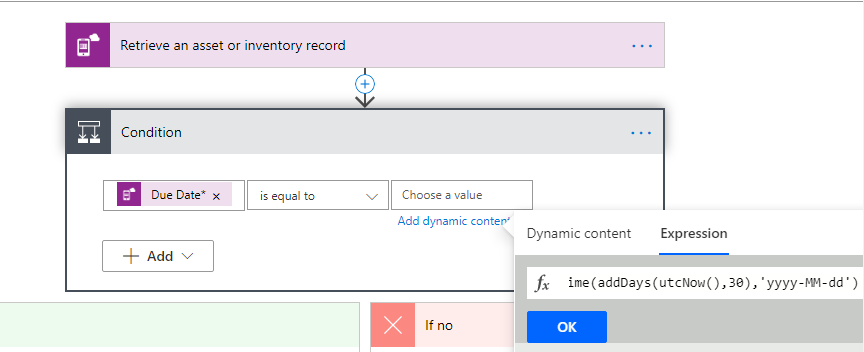
In the Expression’s text box, enter :
formatDateTime(addDays(utcNow(), 3),'yyyy-MM-dd')
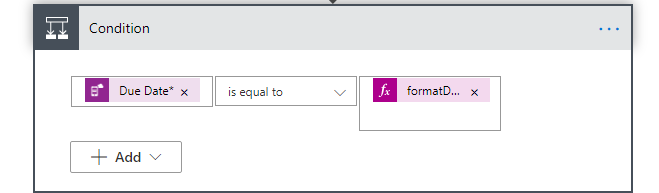
The number “3” in the expression above denotes the number of days that should be used to check whether an item is due or overdue. This number can be adjusted to suit your needs.
The expression “yyyy-MM-dd’, denotes the date format your Due Date is in. By default, when recording dates, the platform uses ISO 8601 format, e.g 2020-01-30. If your due dates are in other formats, adjust that expression accordingly.
To set up notifications for due items, the Condition settings should look like this:
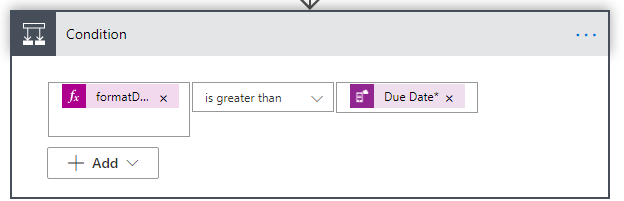
On the other hand, to set up notifications for overdue items, the Condition settings should look like this:
When Power Automate sees the condition is met, you want to set it up to follow the “Yes” branch.
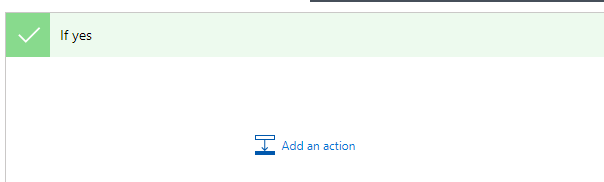
Click on the Add an action button then choose a Mail connector.
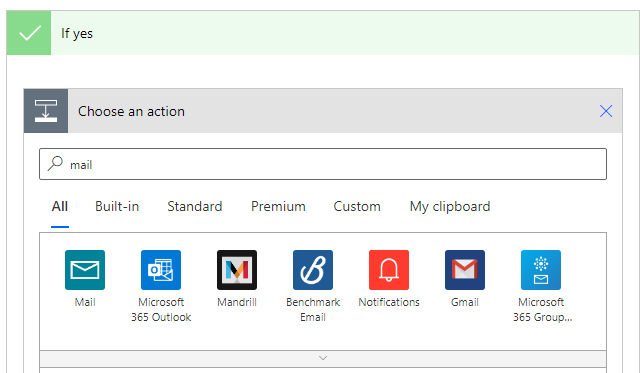
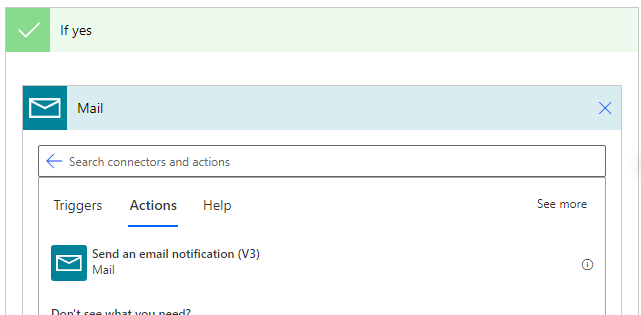
Under your preferred mail connector’s Actions menu, choose the option that sends emails. For example:
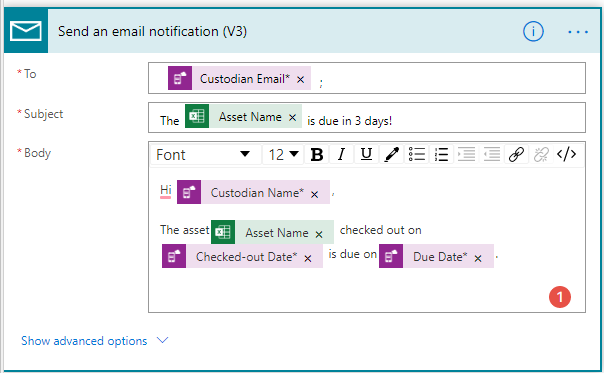
After that compose the message using dynamic content fields. For example:
Once that’s done, save the flow set up, ensure there are no warnings under the flow checker, then test.

The expected results, as long as the conditions are met, would be an email should be sent to the custodians.
Note – under the “yes” branch, you can still add more actions such as, have a new spreadsheet created with all the notified custodians or have the checked out items deleted from the source spreadsheet, etc.