Search The Knowledge Base
Inventory on Hold
You can set reduced inventory from specific locations to first require approval from authorized users.
Setting up Inventory on Hold
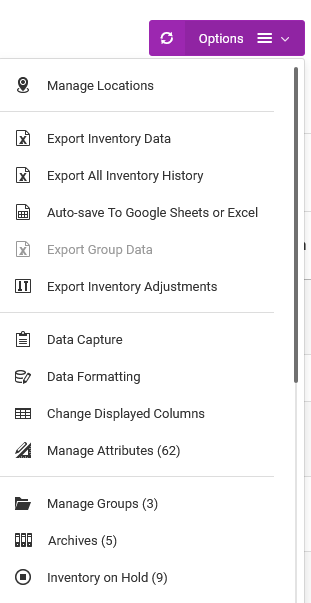
From the table in Manage Inventory > Inventory page, go to Options > Inventory on Hold.
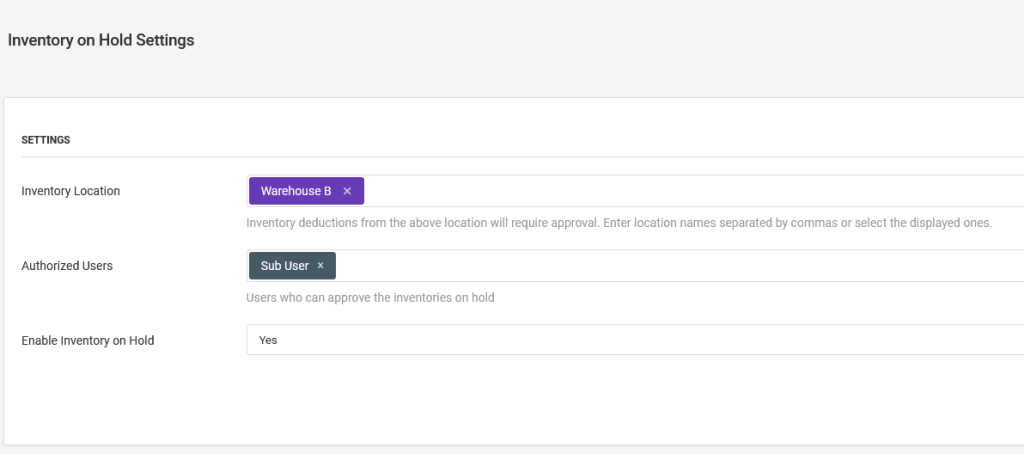
On the new page, choose or enter the inventory locations where inventory reduction require approval.
Choose sub-users who can approve the inventory reductions. The main owner of the account has full permissions.
For a tighter control over the manual editing of an inventory’s quantity field, you can assign read-only sub-user or app-user data capture permissions for this field.
Note – to update the inventory on hold settings later, from the Inventory on Hold table, go to Options > Settings.
Placing Inventories on Hold
When reducing inventory, if the source location is in the inventory on hold settings, no deductions will be made. Instead, the reduction activity will be logged.
You can then view these logged records by going to the Manage Inventory > Inventory page. On the table, go to Options > Inventory on Hold.
Processing Inventories on Hold
There are two steps to take when processing inventories on hold.
The first step is to update the destination location.
For example, for an inventory transfer, if an inventory reduction from store A was placed on hold, then store B would be set as the destination location.
If no inventory transfer is taking place, then set the destination location to be the same as the source location.
The second step is to then approve the reduction.
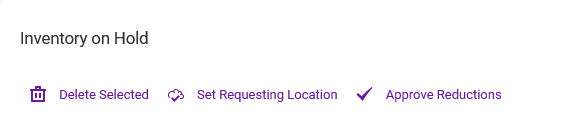
On the inventory on hold table, you will see the records such as the time the inventories were placed on hold, who placed them, custom field data, e.g, source location, quantities, etc.
Use the buttons at the top of the table to set the location and to approve the reductions.
Inventory on Hold Notifications
Inventories placed on hold are automatically added to the To-do Tasks.
The tasks feature comes with desktop and calendar notifications.