Search The Knowledge Base
Viewing Captured Data
There are several ways captured data can be viewed, along with the other logged data such as those of the person who took the action, and when the action was taken.
Viewing captured data from the web app
Showing all the data on the tables
On the tables, to view the captured data, the data needs to be displayed on the respective table.
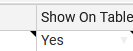
One way to do that is to set the custom field setting, Show on Table to “Yes”.
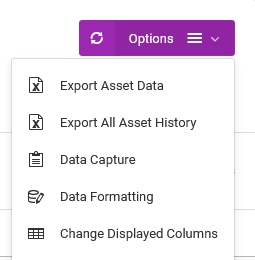
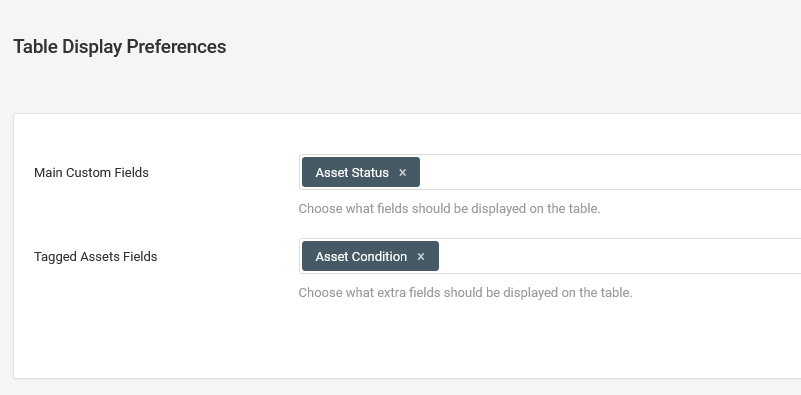
The other way is to change what the table shows, by going to Options > Change Displayed Columns.
Depending on the Services being used, the app will allow you to choose additional fields that can be displayed along with the custom fields.
Viewing who, when and what data
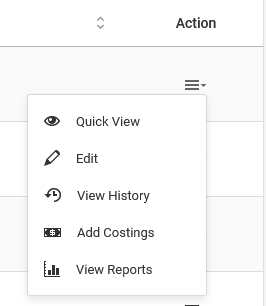
To view data that includes the name of the person that submitted it, the time the submission took place, and data submitted, go to Action > View History.
Exporting Data to CSV files
Captured data can be exported collectively to CSV files. See the Export options under the Options menu.
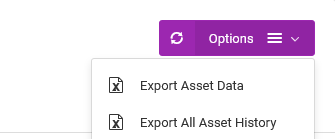
The Export Data option will export the captured data in accordance with your custom fields. If needed, this exported data can be imported back to the platform.
The Export With History option will include the entire history of the items, and also show the name of the people who performed an action, and the time that they did it.
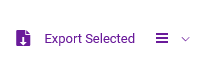
Data can also be exported selectively, by clicking on the Export Selected button on the tables.
Viewing individual records
Individual records can be viewed by going to the record’s Action menu > Quick View.

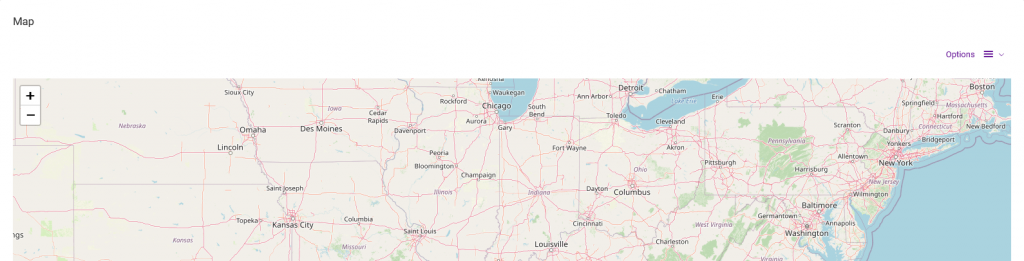
Viewing data on a map
If you capture GPS coordinates using the smartphone app, you can view the location details on a map.
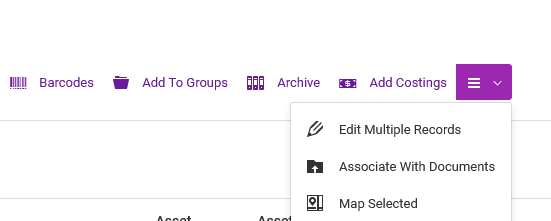
From the tables, select the records you want to view on a map then go to the menu at the top and click on the Map Selected button.
Example:
On the new page, you will see the markers on the map, which when clicked on, will open a pop-up with brief details about the record.
If you want to focus on specific records, expand the View Selected Records box by clicking on the arrow on the right.
Choose the records you want to view, then click on the Map Selected button.

Viewing captured data from the smartphone app
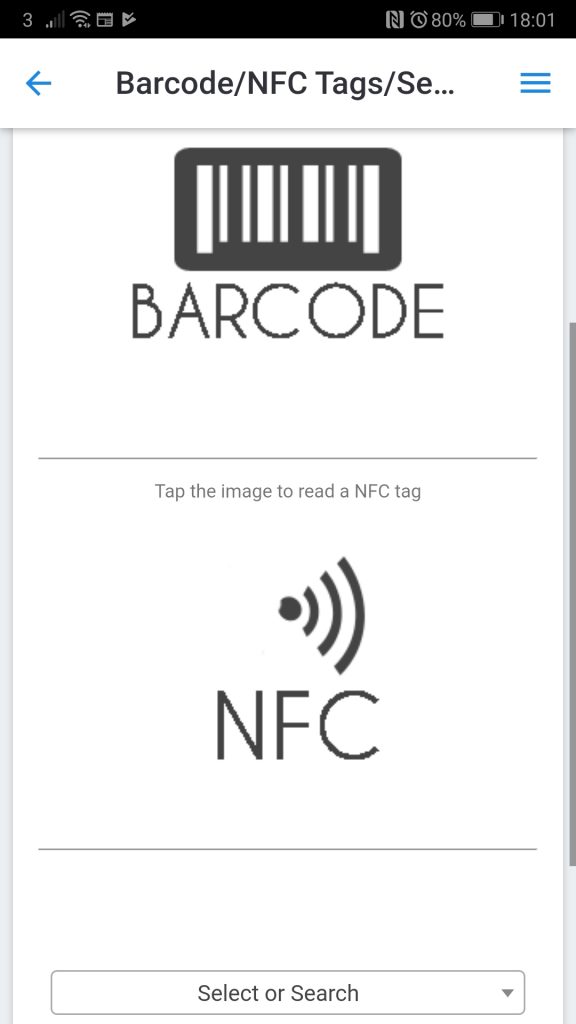
Viewing individual records
Individual records can be viewed by either scanning a barcode, NFC tag, or searching for the item.
Tap on the View (x) History menu, for example, View Asset History.
Viewing all the records
To view all the records, tap on the View (x) History menu, for example, View Asset History.
On the new screen, scroll to the bottom, then tap on View My Activities.
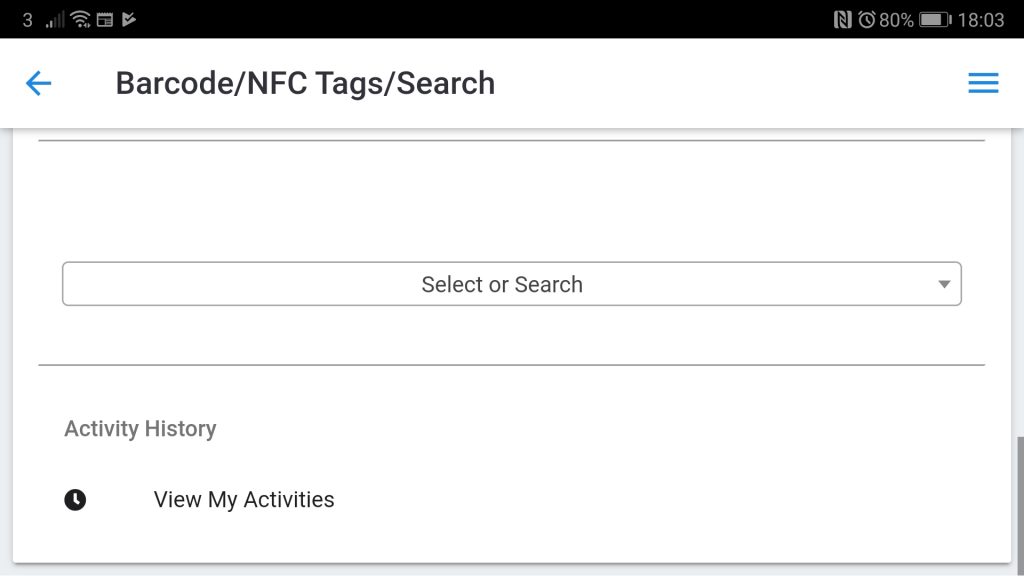
On the new screen, tap on the navigation links at the top, e.g Assets.