Search The Knowledge Base
Customizing The Smartphone App
App Settings
These are the settings available from the Settings page (swipe left).
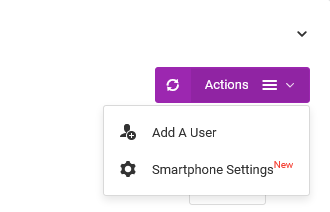
They can also be customized from the web app. On the Smartphone App & Users page, go to Options > Smartphone Settings.
Setting Options
- Retrieve data from last scan – when set to Yes (the default value), scanning barcodes or NFC tags will make the app fetch and populate the form fields with existing data associated with the scanned item.
- Set Exceptions – you can choose which services should not have their data retrieved.
- Retrieve inventory data by location – when set to Yes, the app will use the inventory ID, and the location name, to fetch matching records that will be populated on the form fields.
- Capture GPS coordinates – when set to Yes (the default value), GPS coordinates will be recorded with each scan.
- Cache GPS coordinates – when set to No, each GPS coordinates captured will be fresh.
- Work Offline – if set to Yes, data will be stored on the device until synced with the web account.
- When scanning NFC tags, read the – when set to “Payload /Message” (the default value), the app will read the main encoded data. If set to “ID / UID /Serial Number” the app will read the serial number of the tag. This is supported on Android and some of the latest iOS devices.
- Resize images when uploading them – when set to Yes (the default value), images will be resized.
- Search inside CSV files – when set to No, the CSV file associated with the CSV Search custom fields, will not be searched.
- GS1 Digital Link – you can extract the link itself, GS1 primary identifiers, or the element string.
- Inventory Adjustment Amounts – when processing multiple inventory records at once, you can either use fixed amounts for all or variable amounts for any of them.
- Enable “X” Service – When set to No, the respective service will be hidden on the Services page
- Enable Bulk Processing using Groups – when set to Yes, you will be prompted and asked what to do next with the associated groups.
- Delete Web App Connection – this disassociates the app from the web app. To reconnect, go to Web Apps (swipe left) > Connect To Web App

Granting Permissions
From the web app, you can also control what the smartphone app does.
Access to Services
To grant access to specific services, under a user’s record, go to Actions > Permissions.
On the form, choose the services the user is allowed to use.

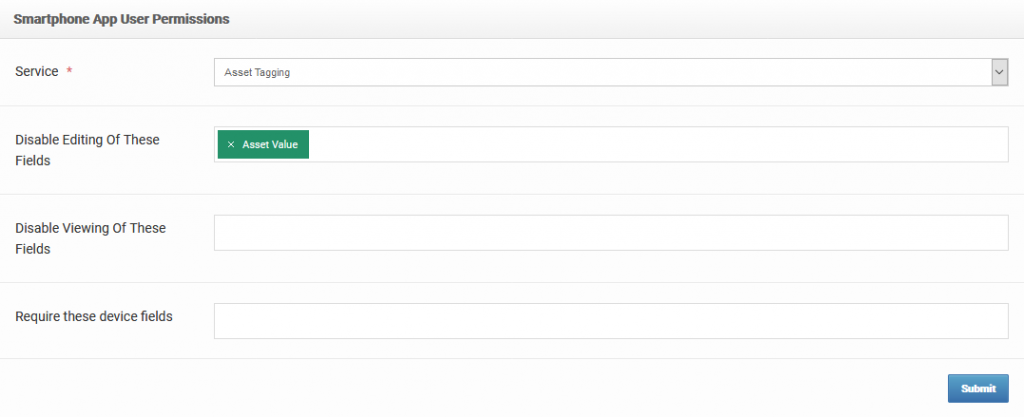
Access to Data Capture Fields
To limit what Data Capture fields the user can edit or view, select the user then click on the Assign Data Capture Permissions button.

On the new page, choose the fields to hide or disable from editing. Use the Service dropdown to load specific fields for the correct service.
You can also make image uploads or GPS capture mandatory, under the “Require these device fields” section.
Hiding Unused Services
From the web app, you can also hide specific services that you don’t want a user to access.
To do so, select the user, then click on the Hide Services button.

On the new page, select the services to be hidden.

To un-hide a service, simply remove it from those selected options.
Important – on the smartphone app itself, the user has to log out then back in for the changes to take place.