Search The Knowledge Base
How to populate fields from composite scans
With the composite scan feature, you can set up the app in a way that the combined values get populated into designated fields too.
Enabling Composite Scans
With the composite scanning feature enabled, you need to scan two barcodes or NFC tags in sequence for the app to combine their values as one.
Note – whilst there are other custom fields that support composite scanning, the information in this article is for the one that also allows designated fields to be populated automatically.
To enable this type of composite scanning, from the smartphone app, swipe left > Settings then scroll to the Barcodes & NFC section. Tap on Enable Composite Scans.
To enable it from the web app, go to the Smartphone App & Users page. On the table, go to Options > Smartphone Settings.
On the new page, go to the Barcodes & NFC section, then enable the composite scanning.
Once enabled, the main barcode and NFC scanning field at the top of the data capture forms is what you will need to use.
Populating Designated Fields Automatically
To populate other fields with the results of the composite scans, you need to first designate what those fields are.
In the data capture fields where this composite scanning feature will be used, create two fields with the Answer Type set to Hidden. In the Options section, enter any value, e.g. the name of the field itself.
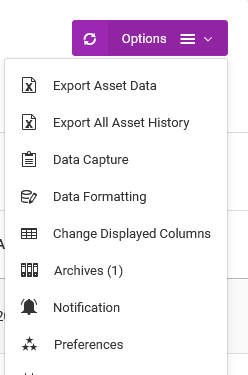
Once those two fields are set up, depending on the service that you are using, go to the Preferences option from the Options menu.
For example from the Tagged Assets table, go to Options > Preferences.
In the page that follows, scroll to the relevant service section.
In the field named, “For composite scans, split the values to”, choose two fields where the values should go to.
The order of the selected fields matters.

Once these settings are saved, the next time you use the composite scan feature, the combined values will also be applied to the fields that you designated.