Search The Knowledge Base
To-do Lists
Improve productivity by creating to-do lists that enable you to prioritize and focus on the most important tasks.
Tasks can be assigned to colleagues who use either the smartphone or web apps.
To-do lists can be set up for records under assets, inventories, deliveries, work-in-progress, and QR codes or NFC campaigns.
To-do lists are also available for activities that trigger email notifications, such as expiring dates, recurring dates, low stock, asset maintenance, etc.
Creating and managing the to-do lists can be done from the web app, the smartphone app, or our browser extensions for Google Chrome and Microsoft Edge.
As tasks are already associated with records, these records can be processed at once by selecting one of the available options relevant to the service they were allocated to.
Web app to-do tasks
Setting up tasks on the web app
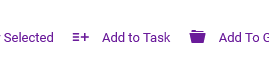
From the summary tables, such as those for assets, inventories, deliveries, and QR codes or NFC campaigns, select some records and click on the Add To Task button at the top of the tables.
On the new page, fill out the form by giving it a task name, some description, due date & time, priority, and assign an owner to it. You can assign the task to yourself, or other web and smartphone app users. Alternatively, leaving the owner assignment field blank will make the task available to all users.
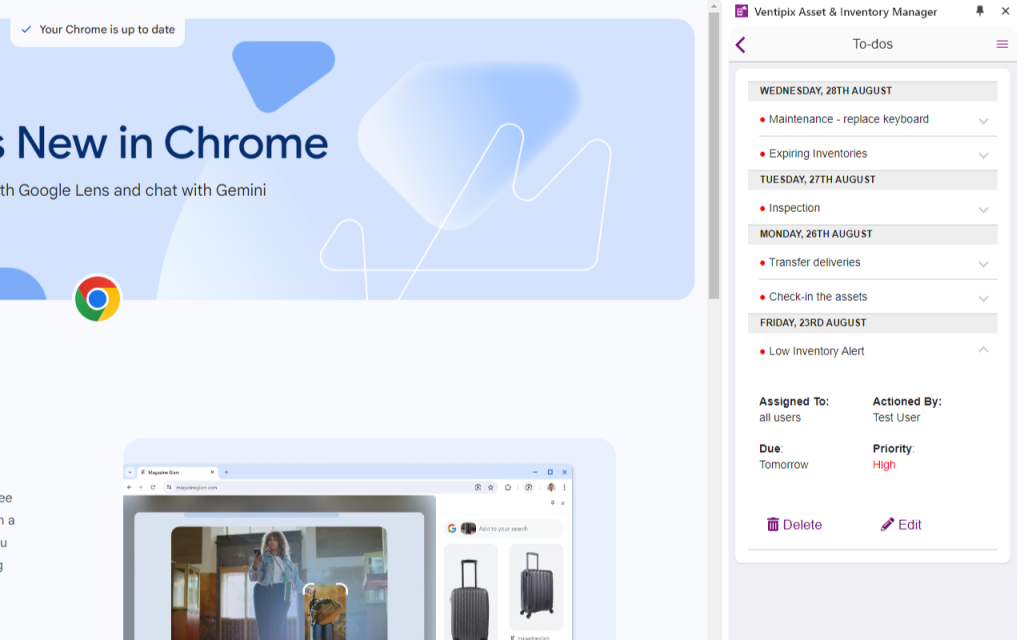
Viewing tasks on the web app
On the same tables, if new tasks are available, a badge as shown below, will display the number of pending tasks.
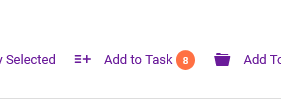
Clicking on the button, without selecting any record, will redirect you to the tasks page.
Alternatively, go to the To-dos Tasks page from the navigation menu, then use the filters at the top of the page to narrow down to specific tasks from specific services.

Processing tasks on the web app
On the To-do Tasks page, find the task then go to its Action > Process Task menu.
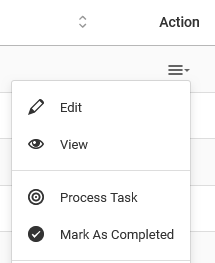
Depending on the services that the task was set up under, several options applicable to the used service are available.
Choose the desired option then click on the Continue button.
A task can have many records associated with it, so the collective records will be processed at once.
Smartphone app to-do tasks
Setting up tasks on the smartphone app
Once logged in to the smartphone app, go to the Services page.
Under the Tasks section, tap on the To-do Tasks menu.
On the new page, tap on the (+) button.
Fill out the form by giving it a task name, some description, due date & time, priority, and assign an owner to it. You can assign the task to yourself, or other web and smartphone app users. Alternatively, leaving the owner assignment field blank will make the task available to all users.
Choose a Service, then scan barcodes or NFC tags relevant to the records for the chosen service.
Viewing tasks on the smartphone app
On the Services page, tap on the To-do Tasks menu.
If new tasks are available, they will be displayed under the Pending tab. Completed tasks are displayed under the Completed tab. To refresh the lists, tap and drag the top of the page.
Records associated with the tasks can be exported as CSV files, by expanding the list and then choosing Export from the Actions menu.
Refreshing the Services page will notify you of the pending tasks that are available.
Processing tasks on the smartphone app
Under the Pending tab, tap the list dropdown icon to expand the contents.
Under the Actions menu, choose a desired option. What’s shown on such menus depends on the service associated with the task.
Following that action, the new screen will show the records that can be processed at once.
To mark the tasks as complete, you can expand the lists, choose the relevant option, or tap and hold the list then accept the prompts shown.
Browser Extensions to-do tasks
With our Google Chrome or Microsoft Edge extension, you can use the context of a web page that you are viewing to search for records, add selected content to tasks, or click URLs to create QR codes & NFC marketing campaigns.
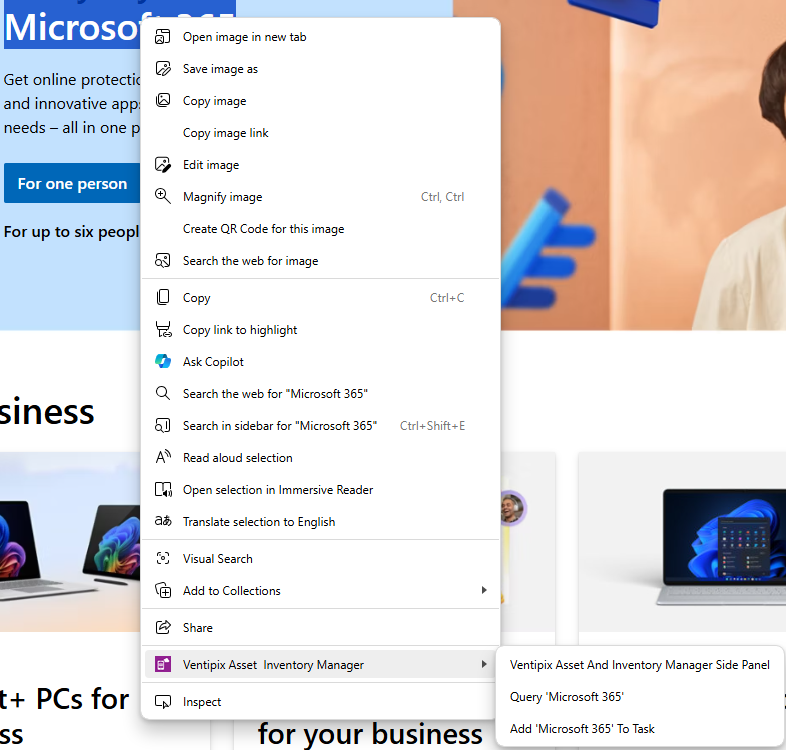
Setting up tasks on browser extensions
You can set up tasks by right-clicking on a web page and then choosing the Ventipix Asset & Inventory Manager Side Panel extension.
If you previously selected some text or link, before right-clicking on a web page, the selection can be used to create records or search for them. Therefore, you can leverage this functionality to select values that identify records such as barcode values, asset names, product names, etc.

With the opened side panel or sidebar, regardless of how it was opened, you will be presented with an option to search for records or view tasks.
With the search option, use the search results to select multiple records then tap on the floating button to add them to tasks.
With the view option, under the Pending tab, tap on the floating (+) button to create a new task.
On the New Tasks form, fill out the form by giving it a task name, some description, due date & time, priority, and assign an owner to it. You can assign the task to yourself, or other web and smartphone app users. Alternatively, leaving the owner assignment field blank will make the task available to all users.
Choose a Service, then type in values that identify records related to the chosen service, e.g. barcode values.
If these identifiers are on QR codes, you can scan them using your webcam.
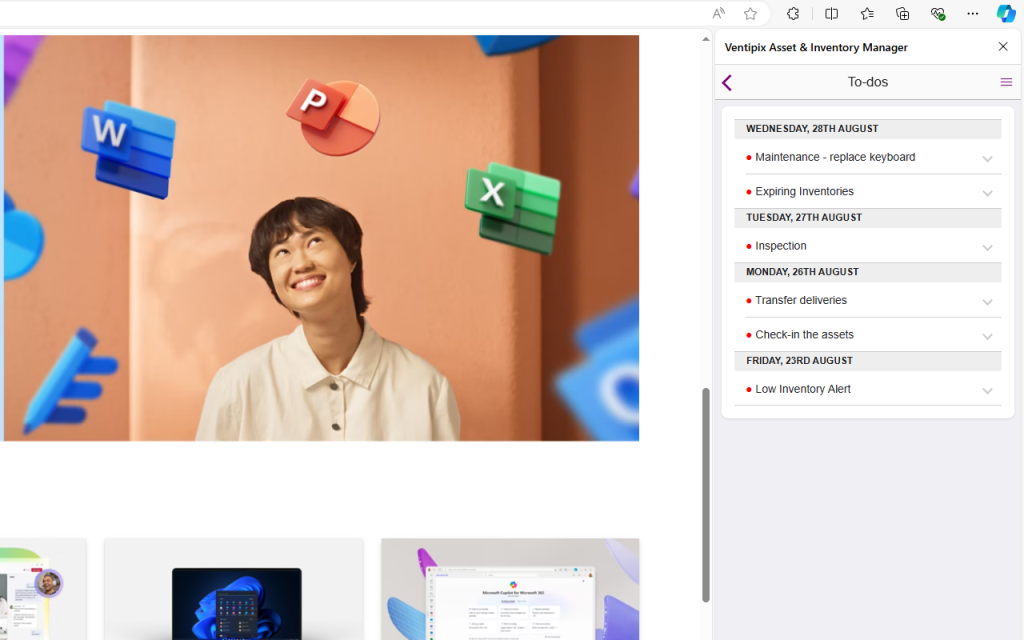
Viewing tasks on the browser extensions
Open the side panel or sidebar by right-clicking and choosing our extension or from your pinned extensions bar.
Once opened, go to the To-do Tasks menu.
Click on the dropdown icon to expand a list’s contents.
The processing options available on the side panels and sidebars are limited. You can, however, export records associated with the task by choosing Export from the Action menu of the expanded list. For full data processing options, use either the smartphone or the web app.
To refresh the to-do lists, pull and drag the page down using your mouse.
Notifications are available with our browser extensions and are triggered whenever new tasks are added or existing ones are due. These notifications are issued whether the side panel or sidebar is opened or closed.
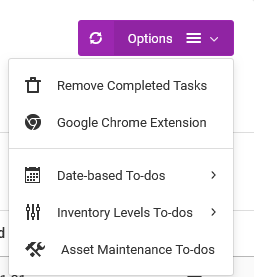
Recurring tasks
With recurring tasks, to-do lists can automatically be created whenever a specific event occurs.
An event can be related to dates, e.g. expiring dates or elapsed interval periods, stock levels, e.g. low stock or overstock, and asset maintenance.
To set a recurring task, from the table on the Tasks page, go to the Options menu then choose the applicable To-dos category.
You will be prompted to set up an email notification on the new page.
Under the Send The Email To field, select Other Team Members.

After that, choose the Team members.

The selected users will have a to-do task assigned to them whenever the event occurs.
Calendar To-do Tasks
You can import your to-dos to a calendar application such as Google Calendar or Outlook.
From the To-do Tasks table, go to Options > Calendar Integration.
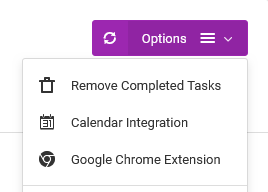
Copy the generated link and use it to import the tasks to the calendar application.
The calendar application will continuously check for new updates. You can also set the calendar application to notify you when changes occur.
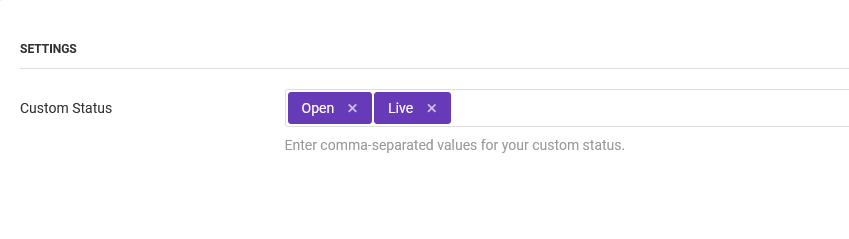
Custom To-do Statuses
You can add custom statuses then use them to filter tasks.
From the To-do Tasks table, go to Options > Settings.
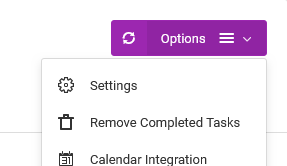
On the Settings page, enter comma-separated values for the statuses.